I’ve written about how we’ve polished up our stroller and made it nice again in the past. Our old Baby Trends Expedition Jogger stroller has been through hell and back at least 3 times since we’ve had it…and considering that it was only about $100 (plus the insane cost of shipping we paid to get it over to Germany), it was a very worthwhile investment. I’m sure I should give this stroller a thorough review because it really has put up with a lot in the last 4 years. And really, any stroller that still looks as good as this one does after 4 years (with a bit of elbow grease) deserves a full dissertation!
Before we moved over to Berlin, we thought long and hard about which stroller we wanted to bring with us. Although Mackenzie is certainly capable of walking around on her own, she gets tired and then someone has to carry her up the 3 flights of stairs to our apartment. Which is not fun but a pretty good workout boost.
At any rate, we had the luxury of having two strollers to choose from: the old Baby Trends jogger and a newer kiddy stroller. We would have had a third little city stroller — but it was stolen with the BMW a few years ago.
So we asked Mack a few times which stroller she preferred and kept mental notes of which stroller we thought would be better for the city. The kiddy was far prettier and more stylish — but the Baby Trends is just far more versatile for streets and weather, easier to collapse & set up again (by a LONG shot) and generally just more practical for us thanks to the little things like cup holders and lots of storage.
But the wheels were starting to look like they were made entirely of rust and clearly that was not really something we were shooting for when we moved from suburbia to the big city! It was time to take action. (BTW, this project was done while we were still at the farm — but one could definitely do this with spray cans outside on a sidewalk or in the grass if you’re in an apartment. Here in Berlin there are also workshop spaces with tools and project space available to work on things like this.)
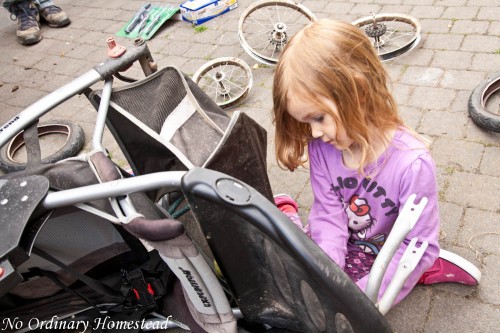
The first step was to detach the wheels from the stroller. Thankfully, that didn’t turn out to be too difficult once we figured out the trick.
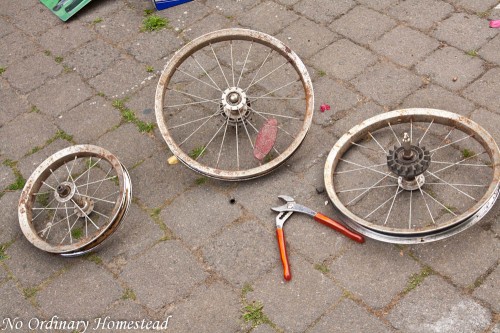
Kinda grungy and rusty looking as you can see — but we love that the tires on this stroller are inflatable which gives it a much better ride.
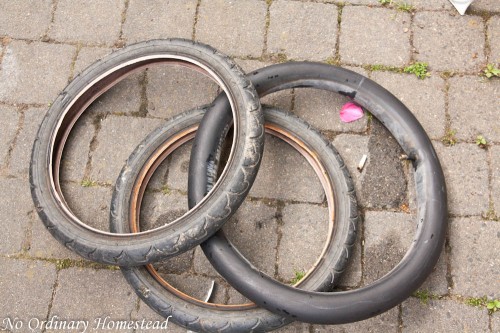
Once we had the wheels off, we took the tires off and tested them all underwater to make sure we didn’t have an leaks. I thought one of the wheels had a slow leak, but apparently it was just the fact that I didn’t pump it up with enough air on those few occasions when I did fill it…resulting in it being perma-low most of the time.
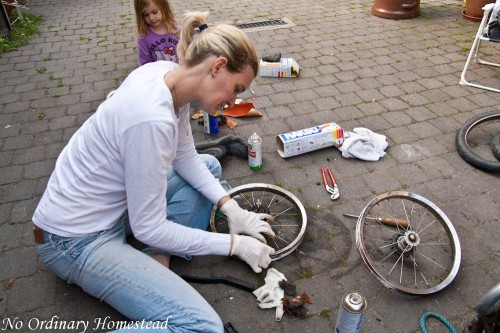
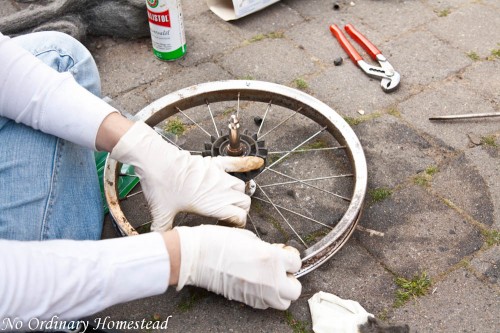
Once the wheels were off, we pulled out steel brushes and some fine steel pool to sand off as much rust as possible. We were aiming to make the surface of the wheels as smooth as possible so that we could paint them.
We also found that adding a bit of WD-40 was helpful to break down some of the rust — but it also got a bit messy. You definitely want to wear rubber gloves where you’re working with steel wool because of the fine steel fibers that come off.
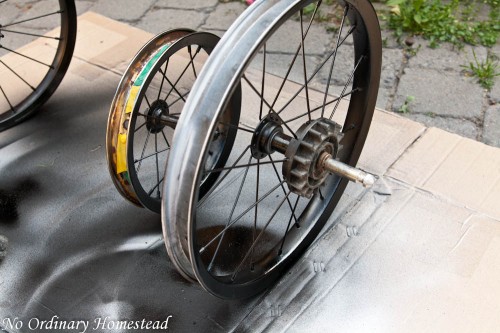
Once we’d gotten everything sand down as much as possible (without making ourselves crazy), it was time for paint. We quickly washed down the wheels and let them dry in the sun to get all the dust and oil off. Then Stefan put on a primer coat. We used our air compressor for the task, but one could also easily use spray paint.
After the primer coat had dried, it was time for paint. We happened to have some black auto paint that was going to be used for some other project that we never got around to. So we figured it was better to use up this expensive paint before we just gave it away.
After thoroughly coating everything, we just let the paint dry and hoped for the best.
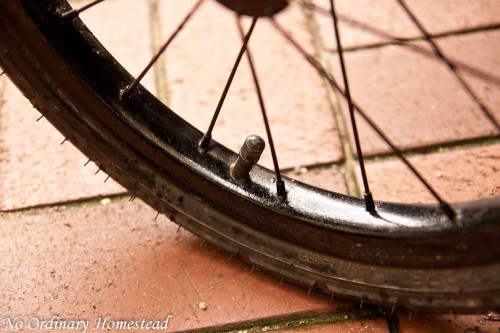
Now, several months later, everything is still looking really good. We’ve stopped most of the rust from progressing and the cart is definitely more acceptable looking to the public, unless you stare at it really hard. And since most people are checking out Ayla or Mack on the street, they don’t have enough time to ogle the stroller.
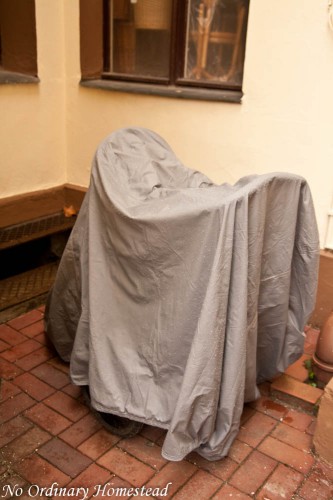
To help prolong the life of the stroller and keep us from going up and down the tiny stairs to our basement multiple times a day, we also invested in a moped/bicycle cover so we can park the stroller upstairs by all the bikes and still keep it from getting wet when it rains. So far the cover is working out fantastic and no one has complained about us parking behind in an otherwise empty space behind the trash containers. So we’re pretty stoked with the setup and really glad we chose to bring this cart instead of the other one!
Featured Link of the Week
This week I’m happy to be featuring a post about one of the harder parts of homesteading from Little Homestead on the Hill. Butchering animals you raise for meat is never an easy process — and Lisa laid it all out there in her post about taking out a distressed turkey before everyone ended up suffering. Thanks for sharing it with us, Lisa!
Want to join in the fun and link to your own blog or images online? You can share about anything related to natural living, from gardening to recipes to home remedies to anything else related to natural living.
Here’s how this works:
PLEASE READ THESE GUIDELINES, especially if you have never linked up before!
Posts you might want to link up could include:
- Green & natural living
- Real Food recipes
- Repurposing & upcycling ideas and projects
- Home remedies & aromatherapy
- Gardening goodness
- Sustainable smartness
- And other things related to living a more natural life
Here’s how this works:
- [list style=”check”]
- You are free to join the Natural Living link up at any time. You can also skip a few weeks and then come back. It’s entirely up to you.
- Please link directly to the specific post on your blog that relates to green living — not your main blog URL.
- Please only link to your own blog or photos hosted online.
- Link back to No Ordinary Homestead or the Natural Living link up post in your blog post. This way, if someone else wants to join the fun, they can. You can either link with text or using the Natural Living badge. Below is a code for the badge above – feel free to resize it as you need. Just copy and paste this code into your post or save and upload the image to your blog: <a href=”https://www.noordinaryhomestead.com/category/natural-living/natural-living-link-up/“><img title=”natural living link up″ src=”https://www.noordinaryhomestead.com/wp-content/uploads/2012/08/noh-natural-living-linky.jpg” alt=”natural living link up” width=”300″ /></a>
- I highly encourage you to visit other participants and leave comments. This is a great way to meet new friends and become inspired about your garden! I try to visit all the blogs participating as well every week
 [/list]
That’s it! Share your green ideas with us by linking up at the bottom of this week’s Natural Living post!
That’s it! Share your garden with us by linking up below!
I’ve also added this point to Little Natural Cottages’s linkup.




Hi Tiffany,
Thanks for featuring my post about butchering a young turkey! It is tough to kill an animal that you have nurtured from birth. I will need to process more poultry before long, so I just have to suck it up and get it done 🙂
Thanks for sharing your post about fixing up the old stroller…love how you gave it a new life!
I waited for a before picture of the entire stroller, and then I waited for an after of the same. Disappointed.
Good success to you nonetheless.