Earlier this week, I was reading through my Google Reader and I somehow landed on the Old Town Home blog, about a really cute town home in Alexandria, VA, and the couple who have been renovating for the last few years. There’s lots of practical advice on their blog — but the thing that really “spoke” to me, was a recent post about their new butcher block counter tops. Now as you probably know, butcher block counters and cutting boards require a bit of work. But what I had never heard before was just how long you should actually cure them when you first get them. According to Old Town Home, the schedule for oiling them *should* go something like this:
- Once per day for the first week.
- Once per week for the first month.
- Once per month for the life of the counters.
Now, we have a small island in our kitchen with a butcher block counter — and I’m sad to say that the mineral oil we bought from IKEA did NOT have such a thorough oiling recommendation on it. Guess I should have googled more. But nevertheless, our counter there still looks good (although it is due for an oiling) and that’s an entirely different post topic!
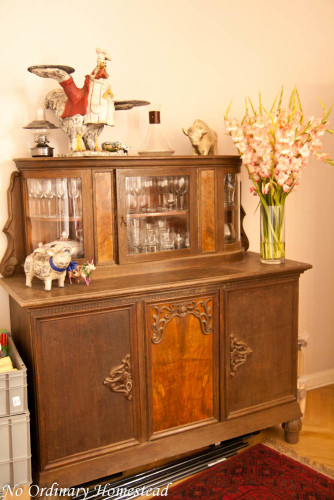
But as I was reading this post, I started to think about the buffet we have in our dining room that I “rescued” from our barn at our old farmhouse near Frankfurt. It was one of the many pieces of furniture left behind by the previous owner — and one of the few ones that I REALLY wanted to save and move with us. It was so important, that I actually went through the 200+ keys that were laying around the farm, trying to find the 3 keys which fits the locks on the cabinets. And as if it were a sign from above, I managed to track down all three!
So we got to bring this huge piece of furniture with us; but refinishing a piece of furniture in an apartment is considerably more tricky than in a barn. Not to mention that I just didn’t even know where to start. I had done some Googling before we left to see what I needed to do to this buffet to make it look more presentable, but all I really managed to figure out was to clean it up and hope for the best. Then I assumed I would just figure something out once we got to Berlin, because the idea of adding varnish or painting the buffet really didn’t appeal to me at the time.
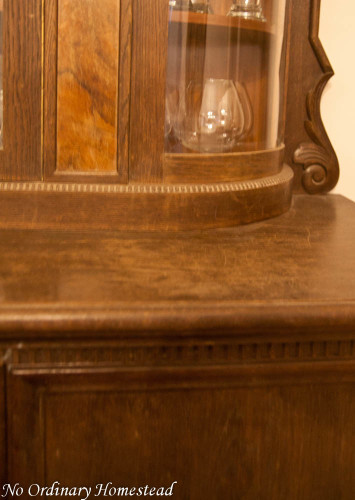
And so the buffet just sat in the dining room, being extremely practical and fabulous, but looking a bit rough around the edges. It’s hard to tell in the photos, but it was kinda dull and lifeless looking, with a rather scratched up looking finish.
Now I’m not a pro at restoring furniture and I don’t know that this is an “approved” method — but it’s working great for us and it’s certainly better than spraying Pledge on it for the next 20 years, hoping it gets a nice sheen to it. And also better than adding new varnish or something similar because I don’t want the smell of it in the apartment and I fear we’d have to sand it down further to begin with. Ick.
Before you go crazy with the oiling, you always want to do a bit of “test” before you get too far along. Find a corner of the piece of furniture that isn’t all that noticeable and rub in the oil; then let it sit for a day or at least overnight to get a feeling for how it will look when finished. If anything strange happens, the oil isn’t absorbed or the wood takes on a color or texture you don’t want, then it’s time to find another solution for reviving your piece of furniture.
Once you’re sure it’s going to work well and look great when you’re done, you just need to grab an old rag and your oil. It works best if you can squirt the oil directly onto the surface and spread it around — but obviously that’s a bit tricky with furniture. So you’ll also likely find yourself squirting the oil onto the rag first. You want to really saturate the wood, so you can leave a bit of oil on the surface so that it can soak in. Usually, you want to allow several hours for everything to be absorbed, so this could be a good project before you go to bed, or first thing in the morning (assuming you don’t need the furniture to hold something on it during the day).
After a few applications, you should notice that it takes longer for the wood to absorb the oil and that means it’s working. Go by feeling with furniture versus the rules above on how often to oil the wood. I did an application every two days for about a week and after 3 applications, the wood was shiny and very nice looking. So I think going forward I’ll do a refresher every two weeks for a couple of months, and then maybe once a month or every two months as it seems necessary. At some point, I’ll probably switch to a lighter polish instead, once the wood is really saturated.
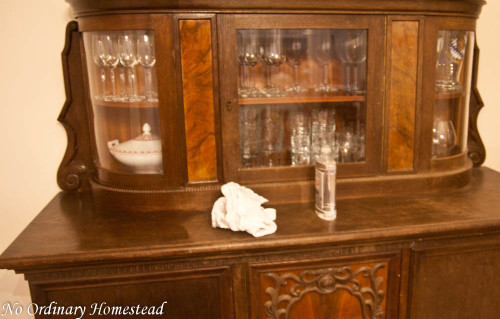
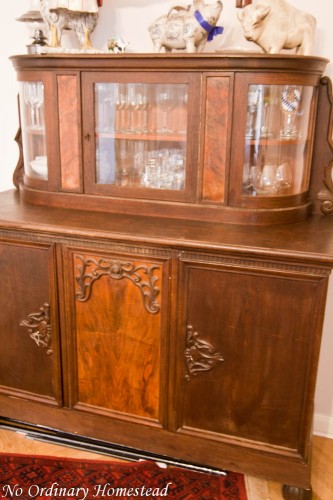
As you can see in the photo above, the wood actually becomes much darker with the oiling, and now that I’ve put on a few coats, I have to say it look really fantastic. I was bragging about it a few days ago to Stefan also and we were noticing that it looks newer and nicer than even the newest piece of furniture we have in the room. Go figure. But I really couldn’t be much happier with the results!
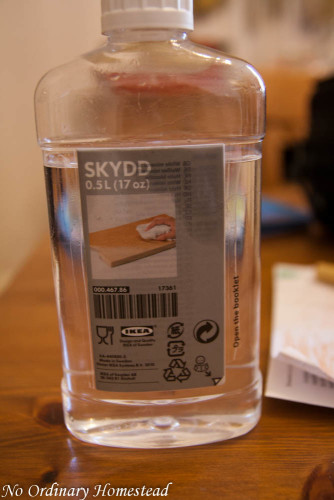
Just for reference, here’s a photo of the mineral oil we used, which is from IKEA. You can use the cheapest one you can find, but make sure that it’s food safe (especially if you are putting it on a counter top) and pure mineral oil without other additives. I’m sure there are plenty of places you can find it, with a wide range of prices. We just happened to have a few bottles of this around after buying our kitchen island, so I’m trying to use up what we’ve already got. 😉
Are you a fan of refinishing furniture and giving a new life? Or are you all thumbs when it comes to restoring things?
Featured Posts from Last Week’s Natural Life Linky
Fittingly, there was a great post last week about making wood butter to restore your wooden kitchen stuff like spoons, bowls or cooking utensils.
I also enjoyed this post about making your own beeswax candles which is super simple in the oven (and a great Christmas gift idea that you can still achieve!) 😉
Want to join in the fun and link to your own blog? You can share about anything related to natural living, from gardening to recipes to home remedies to anything else related to natural living.
Here’s how this works:
PLEASE READ THESE GUIDELINES, especially if you have never linked up before!
Posts you might want to link up could include:
- Green & natural living
- Real Food recipes
- Repurposing & upcycling ideas and projects
- Home remedies & aromatherapy
- Gardening goodness
- Sustainable smartness
- And other things related to living a more natural life
Here’s how this works:
- You are free to join the Natural Living link up at any time. You can also skip a few weeks and then come back. It’s entirely up to you.
- Please do not share more than 2 links per Link-up. If you do, I will delete the “extras.”
- Please link directly to the specific post on your blog that relates to green living — not your main blog URL.
- Please only link to your own blog or photos hosted online.
- Link back to No Ordinary Homestead or the Natural Living link up post in your blog post. This way, if someone else wants to join the fun, they can. You can either link with text or using the Natural Living badge. Below is a code for the badge above – feel free to resize it as you need. Just copy and paste this code into your post or save and upload the image to your blog: <a href=”https://www.noordinaryhomestead.com/category/natural-living/natural-living-link-up/“><img title=”natural living link up″ src=”https://www.noordinaryhomestead.com/wp-content/uploads/2012/08/noh-natural-living-linky.jpg” alt=”natural living link up” width=”300″ /></a>
- I highly encourage you to visit other participants and leave comments. This is a great way to meet new friends and become inspired about your garden! I try to visit all the blogs participating as well every week

That’s it! Share your green ideas with us by linking up at the bottom of this week’s Natural Living post!
That’s it! Share your garden with us by linking up below!


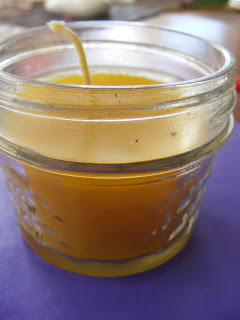


Thank you so much for featuring my candle. 🙂 They are great fun to make!!