We have a little covered patio area outside out kitchen door which we’ve been throwing around ideas about for a while. We finally came to the conclusion that the best thing to have in there would be a harvest and canning kitchen where we can prepare everything for canning without having to be in the house where things heat up quickly. Plus, we only have a ceran cook-top in the house which you really shouldn’t use for canning because of the weight of the pot and the length of time you need to heat it.
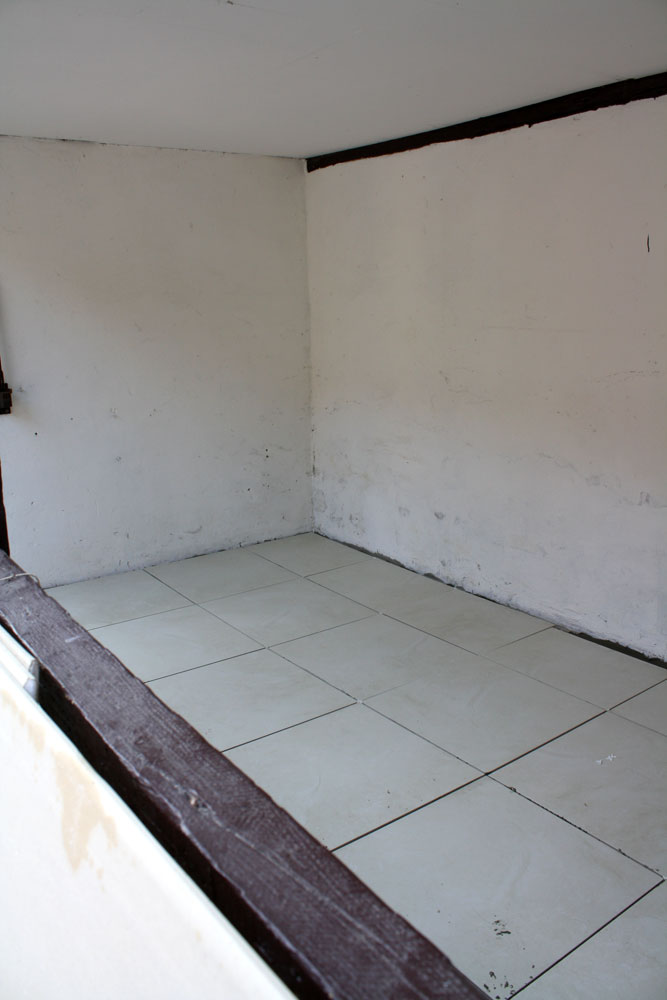
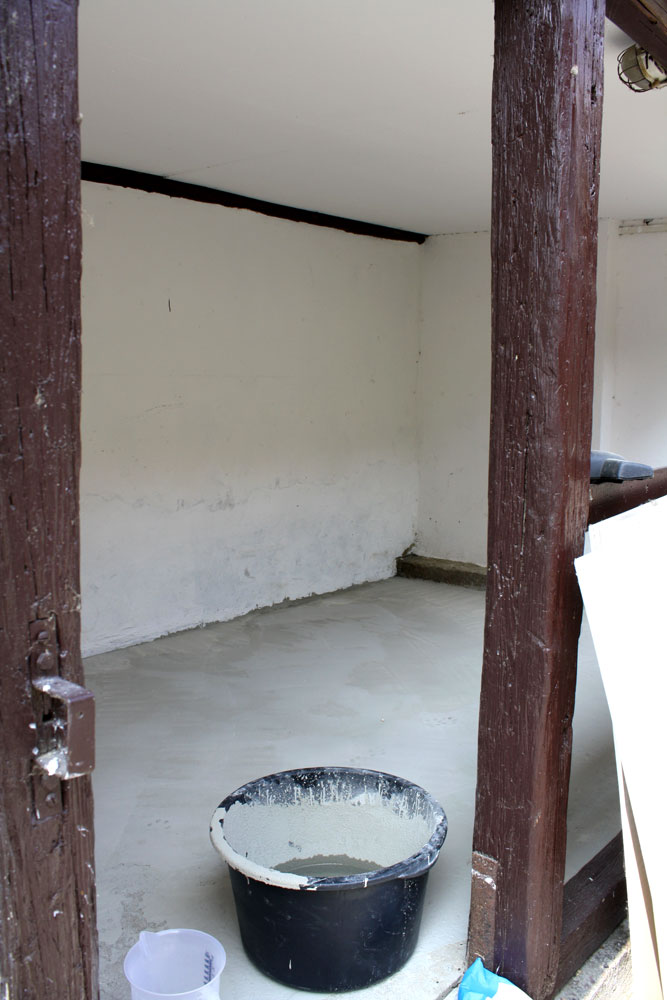
So we finally got down to business two weeks ago and started leveling the floor. As usual, the process didn’t go as smoothly as we would have liked, but we decided to make it work for us. Thankfully we’ve laid quite a bit of tile in the past (thanks to the guesthouse renovation) so we knew how to manipulate the glue and floor to work for us.
What we should have done after leveling the floor was paint the walls. But we got distracted by the excitement of laying tile and forgot. So we’ll have to paint this coming weekend. At least it’s not a big deal to clean a bit of paint off the tile…and we have some tarps and plenty of old newspaper around to make cleanup easier.
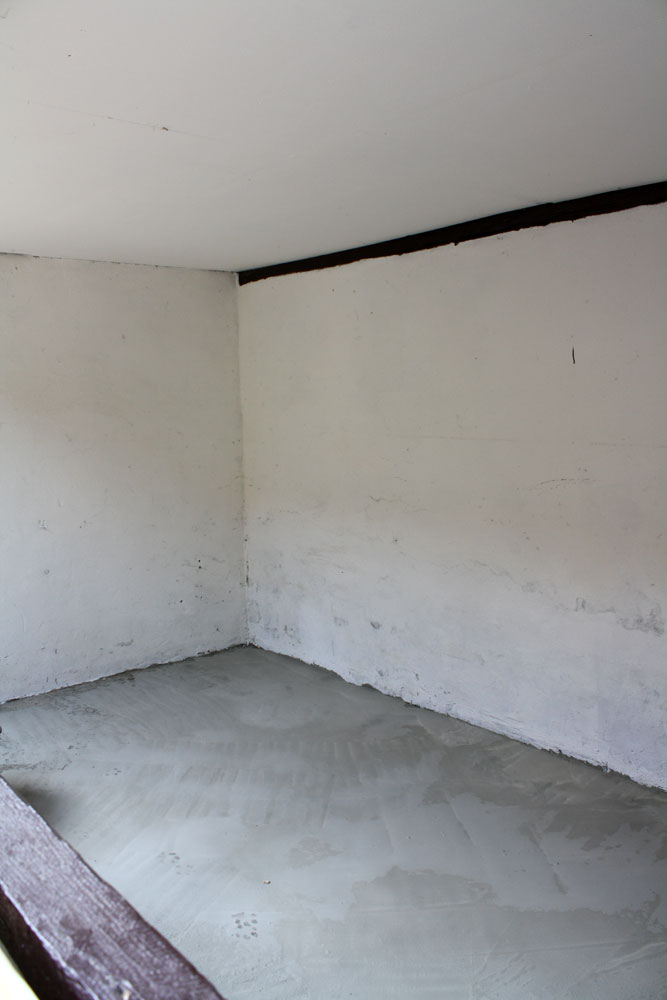
Stefan took off two days last week because it was just unbearably hot here and the air conditioning in his office wasn’t working. Wearing a suit all day in your nearly 100 degree F office is just not kosher and he still experiences some pain when the weather is like that from his recent infection. So it was nice that he could take the time off. Of course working on this stuff may not have been what was best to help him stay healthy but at least it’s one project off his mind.
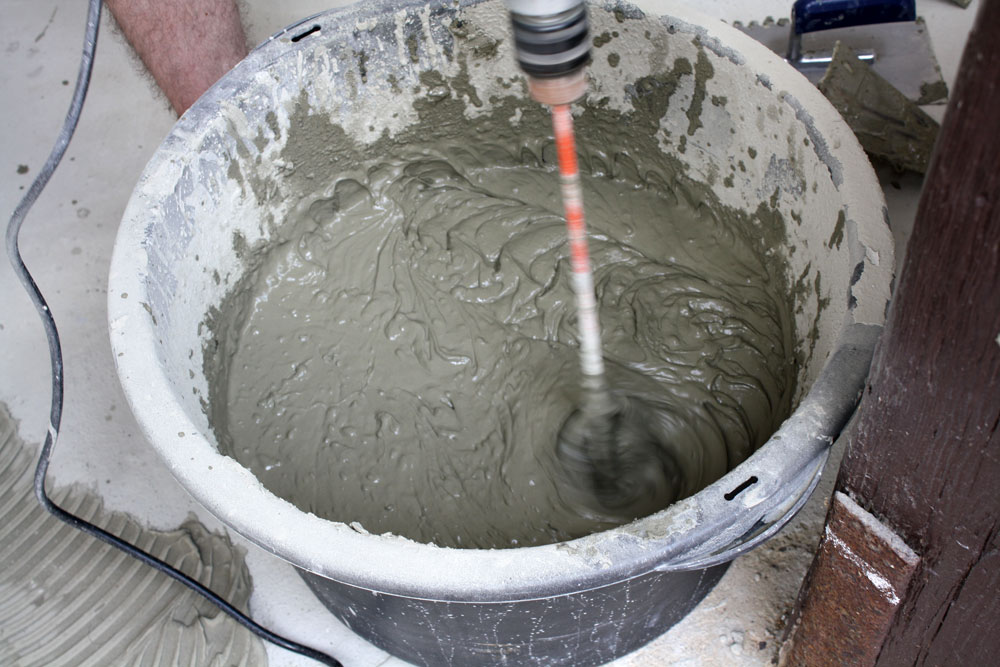
First we mixed up the tile glue and it stirred up so many memories. The key to working with tile glue is finding the right consistency. It should be like a thick milkshake. And if it starts to get too dry and hard to work with, don’t hesitate to add a bit more water to it and mix it in well. Your glue will be as good as new. Also, if you can’t finish the job in one day or need a break, fill your bucket with water so all the glue is covered and let it sit. When you’re ready to start working again, pour off the excess water and mix the glue up again. You may need to let it sit a few minutes to let the extra water soak in but you should be ready for tile laying again in no time. Plus you don’t have to waste any glue.
We’re using the same tile that we have in our kitchen and bathroom upstairs. You would think that we would have used all of that tile up by now but we actually have another 20 or so boxes (about 50 sq meters or 500 sq feet) of tile left. We’re running out of things to tile though so it may end up on eBay also. The tiles are 60x60cm and must weigh 10 pounds each. Not so fun to move a box with 4 tiles in it around the farm. We’ve already moved them about 6 times from place to place here…
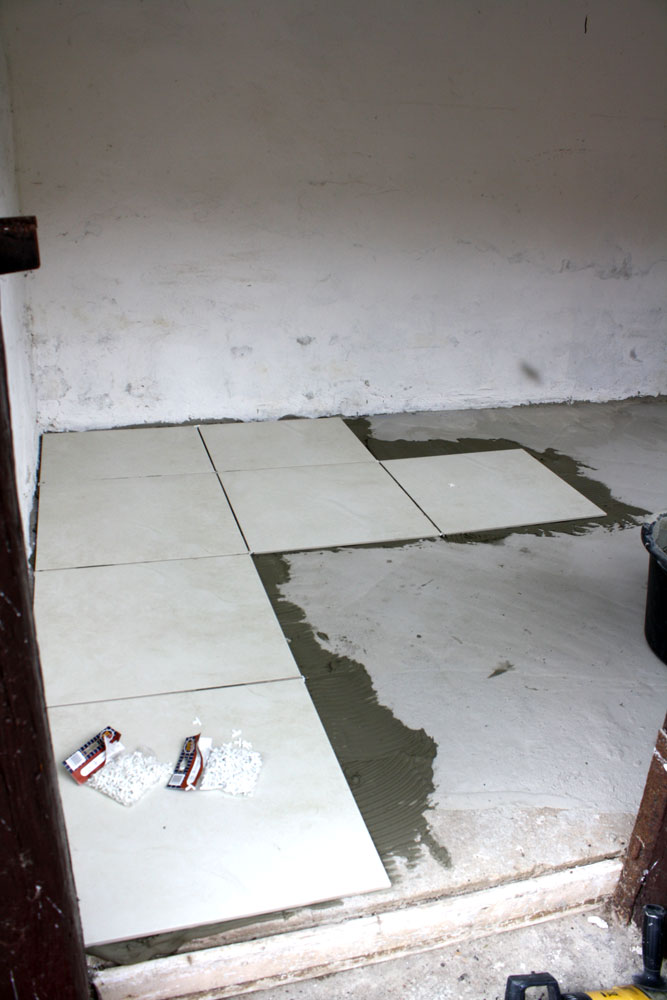
Why must every project require 5 trips to the home improvement store before you can get started? Guess that’s just one of those rules for life. But once we had everything we need, we had the floor done in just a couple hours. Thankfully we didn’t have to cut too many pieces around the edges and the tiles are huge so it all goes very fast. We actually considered doing the grout on the same day since it was really warm and the glue dried very quickly, but we elected to skip the intense heat of the afternoon and just do it the following day.
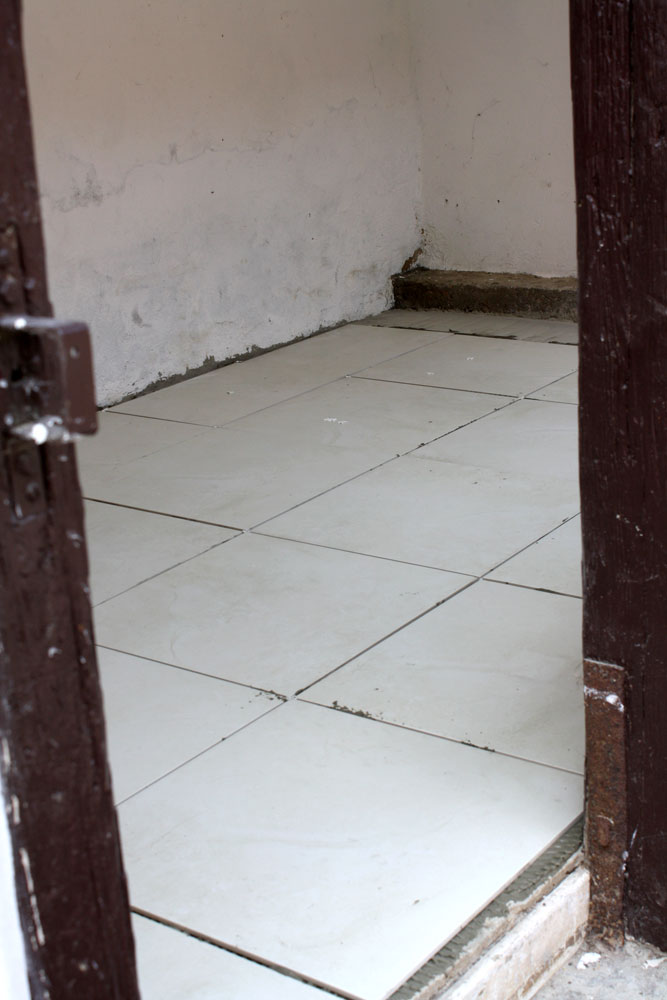
This time around, we were not so stupid about cleaning the excess grout as we went along and are now ready to paint and start moving in furniture. We’re using the kitchen cabinets from the old kitchen that was in our farm when we bought it…and are still debating whether we will just use a table and chairs from around here for now or build a corner bench for the room. I guess we’ll just have to see how the weekend goes and what kind of time we have to spend on finishing this up.
| Z2aH3v*Y2DfY |



First of all, it is a rule that every home improvement project requires at least 4 or 5 trips back to the store! Secondly, wow!! What a great project.
What a great idea! I always can on my porch for the same reasons. I don’t have a whole kitchen to do it in though. What a great use of your space.
Thanks for the encouragement ladies! I know some people probably think this is overkill but we wanted the room to be part of the house as well, not just turn into another storage stall like it was quickly becoming. We’re hoping to get the cabinets in on Saturday, buy the counter top, will hopefully have our gas burners here (they’ve been ordered) and then will only need to make a decision about the table & chairs/bench. Oh and painting of course…Going to be very busy again! 🙂