When we bought our farm house almost 3 years ago (I really can’t believe it’s been that long already) one of the great things about it was a fully functioning water system run off our own underground well. This area is full of underground springs and one of Germany’s largest water bottling plants is just 20 minutes drive from us so you know the water must be good.
To get the system running, we only needed to buy a new waterworks pump. It’s powered by electricity and pulls the water out of the well and then pushes it into the hoses attached which go back to our garden. Since the pump is electric, we couldn’t just leave it sitting out in the open, so it’s been in our attic for the last few years. But this year, we decided it was time to move it so we could access it more easily and handle any problems that might develop. Plus if it springs a leak, it won’t start dripping into our lovely kitchen.
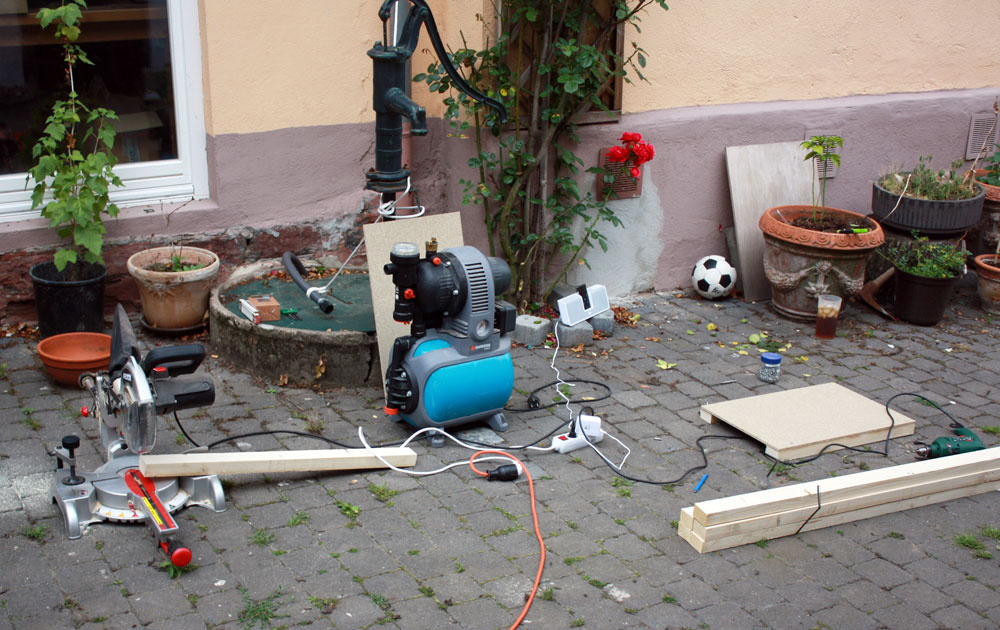
As always, the first step was to gather tools (miter saw, drill, drill bit, cordless screwdriver) materials (screws, wood, pump) and other essentials (iPod and a big glass of iced tea.)
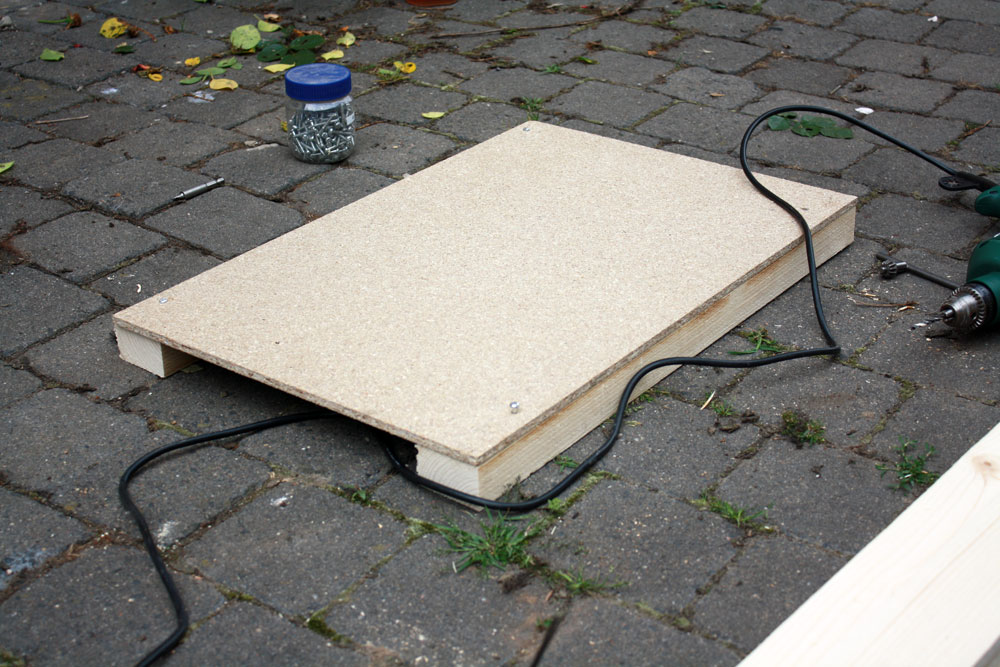
Smartly, when we got the plywood for the bottom and top of the box, we measured the pump inside it’s original packaging to get the correct size of the base (since we’d forgotten to measure it before we left.) Once we started construction, Stefan screwed 2×4’s to the bottom to give it support so it could hold the pump.
Then he started with the rest of the box framework, using one long piece of wood as a foot and side combination. Only two sides have feet because the other half of the box sits on the well cover itself.
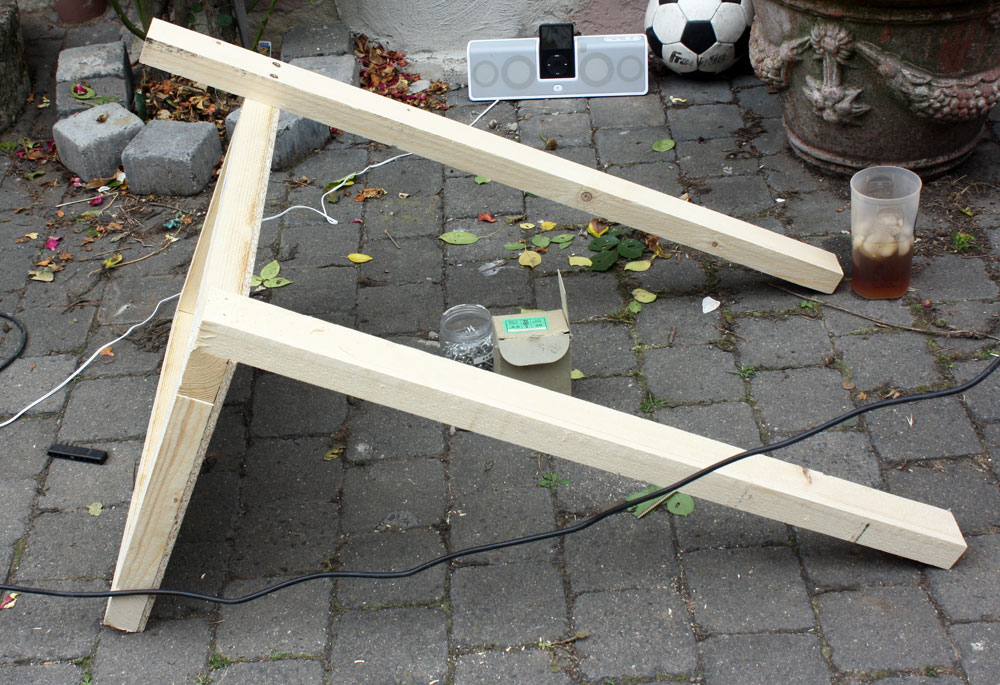
Once the legs and sides were in place, support beams were cut and screwed into place between each leg/side. Then we started attaching the outdoor decking wood to the frame.

At this stage, the box started coming together really quickly. The worst part was that none of our rechargeable screwdrivers will hold a charge any more so Stefan had to keep changing from a drill bit to a screw bit as we went along. But as always, we made due.
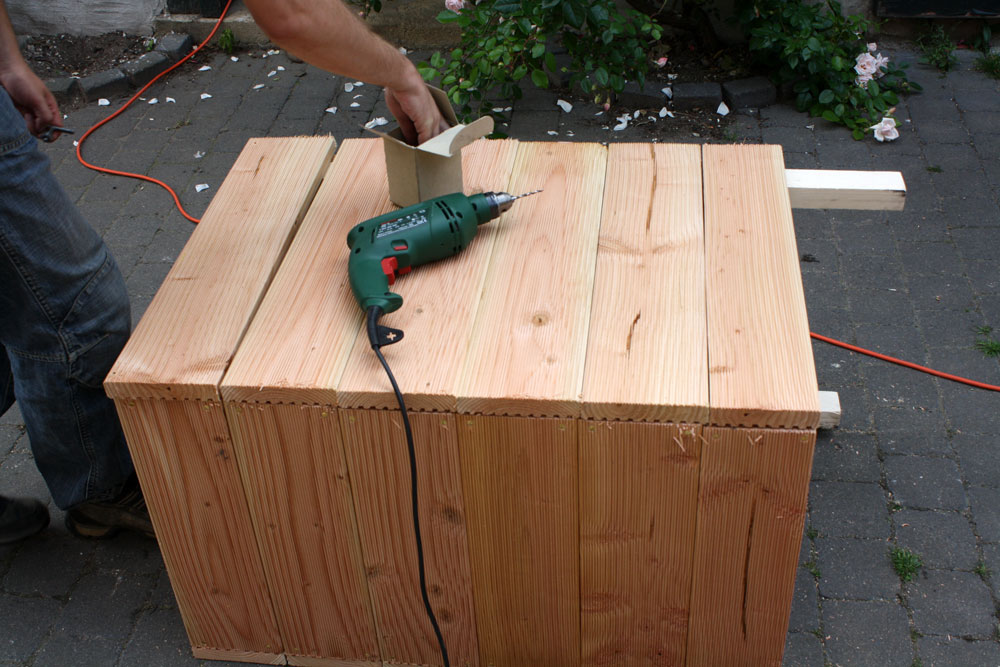
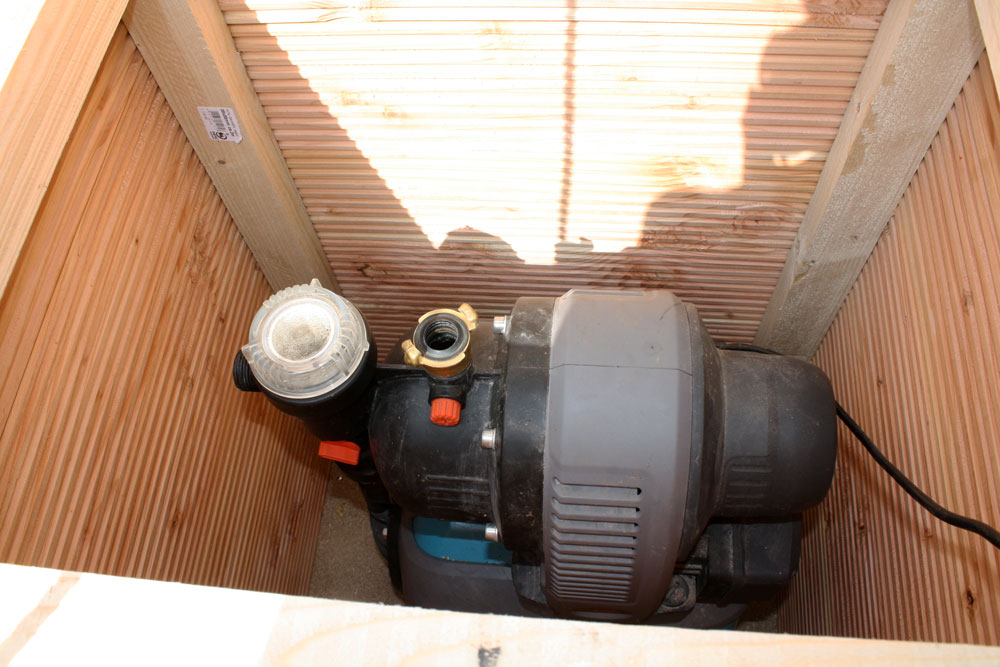
As you can see, the pump fits perfectly inside. The box is built much higher than the pump itself to allow the hose to attach inside and give us a little room for fine tuning things.
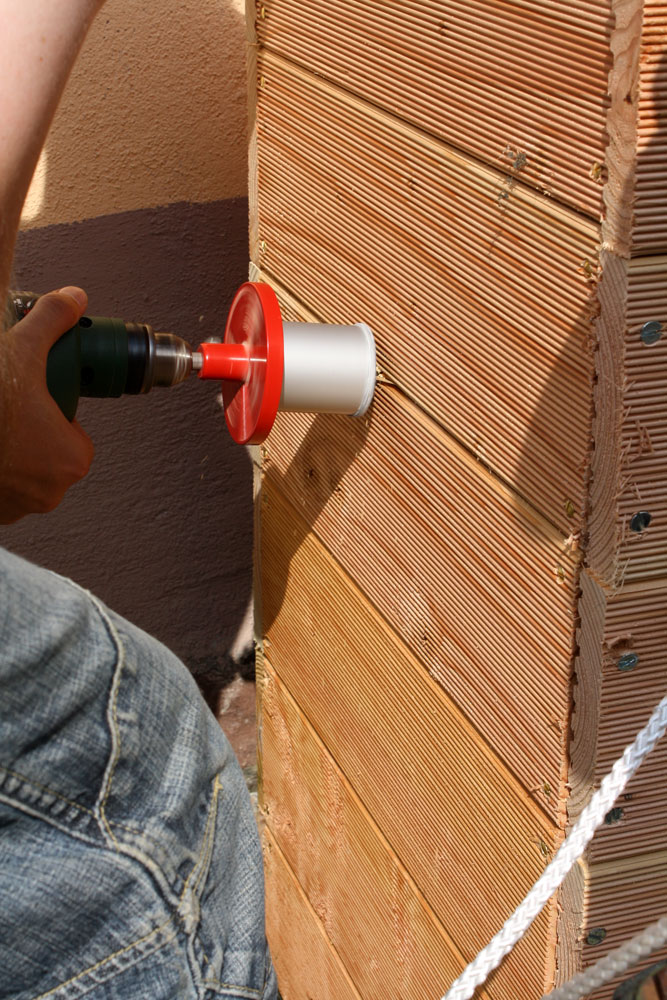
One of the final construction steps was drilling a hole in the side of the box for the hose which goes down into the well. And then another hole in the unattached lid where the hose going up through the attic runs.
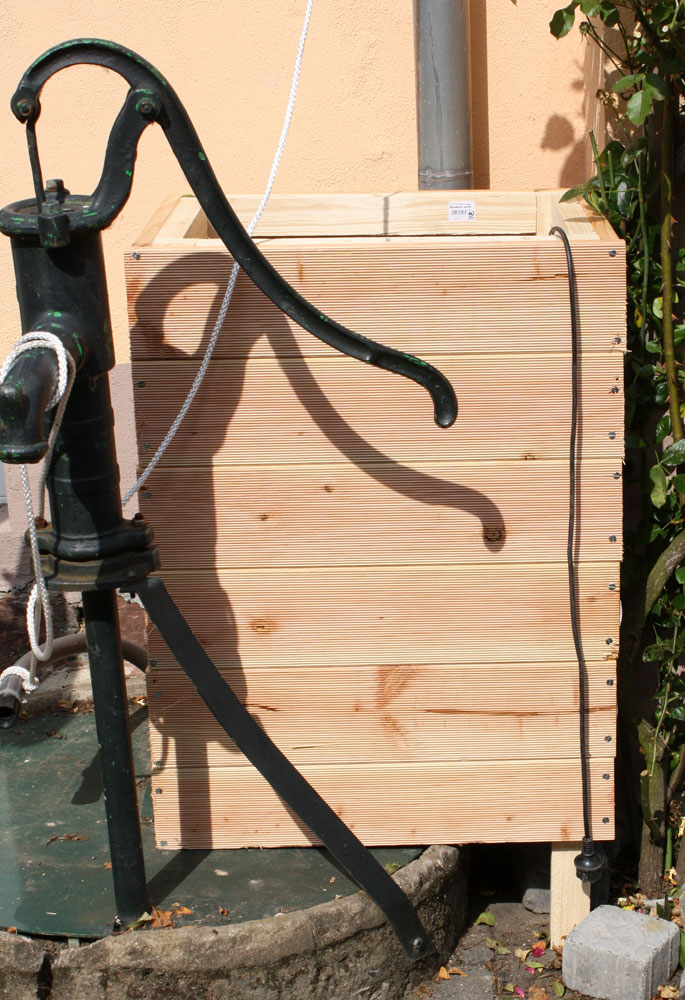
Mackenzie slept through a good part of the building process but when she did wake up, she was an excellent supervisor. She made sure we were being safe and putting all the pieces together to her liking.

Unfortunately, now we need someone to tell us why in the world the water doesn’t run at full pressure to the garden. We bought a new hose (remember the ordeal when someone stole our shopping cart with the last hose on sale – that’s what it was for) which is a quarter inch thinner than the old hose. One would assume the pressure would then be higher for the water. It flows out normally inside the courtyard at the last water faucet we have there, but barely trickles out of the faucet in the garden. Which prevents us from setting up our drip and sprinkler system back there and means we have to keep watering everything daily, including carrying water from the courtyard. Anyone have any thoughts as to where we’ve gone wrong? We cut the excess length of hose off and have checked and re-checked for kinks in the hose – still nothing. It’s beyond frustrating!


