Installing chicken tunnels is a simple way to give backyard flocks more freedom while keeping them safe. These narrow, enclosed pathways connect directly to the coop and guide chickens to new areas where they can scratch, forage, and enjoy fresh air without damaging gardens or wandering off. Chicken tunnels let chickens free-range in a controlled and protected space, making them healthier and easier to manage.
With a few basic materials like wire mesh, PVC, or wood, anyone can build a tunnel that fits their yard. The setup can be straight, curved, or even modular, depending on the space available. By planning the layout and connecting it securely to the coop, the flock gains more room to explore while staying safe from predators.
The process doesn’t require advanced skills, and the design can be adjusted to suit different backyards. Whether the goal is to guide chickens around a garden, create a movable run, or simply add more space, chicken tunnels offer a practical and low-cost solution.
Key Takeaways
- Learn the purpose and benefits of chicken tunnels
- Understand how to design and prepare for installation
- Follow simple steps to build and connect tunnels to the coop
Planning and Designing Chicken Tunnels
Good planning makes chicken tunnels safe, easy to maintain, and well-suited to both the flock and the yard. Placement, materials, and dimensions all affect how well the tunnels work and how long they last.
Choosing the Best Location
The placement of chicken tunnels should balance safety, access, and ground quality. Tunnels work best along fences, garden borders, or between the chicken coop and foraging areas. This keeps chickens contained while giving them new ground to scratch.
Avoid areas with frequent water runoff or soft soil, as tunnels can shift or sink. Flat, firm ground holds stakes and pegs more securely. If tunnels pass near gardens, consider barriers to stop chickens from damaging plants.
Predator safety also matters. Position tunnels where cats, dogs, or wild animals cannot easily dig under or reach through. Some keepers add wire mesh beneath sections of tunnel if predators are a concern.
Selecting Materials and Tools
Durable wire mesh is the most common material for building a chunnel. A rigid mesh bends into shape and holds well without extra framing. Chicken wire can be layered over mesh for added security, but it is too soft to use alone.
Basic tools include a wire cutter, pliers, and UV-resistant zip ties. Stakes or landscape pegs help anchor the tunnel to the ground. For movable designs, wooden runners or lightweight frames can be added.
Some keepers reuse materials from older projects, while others buy pre-made chicken tunnels to save time. Both approaches work, but sturdiness should be the priority, as strong chicken tunnels for year-round protection last longer and keep flocks safer in all seasons.
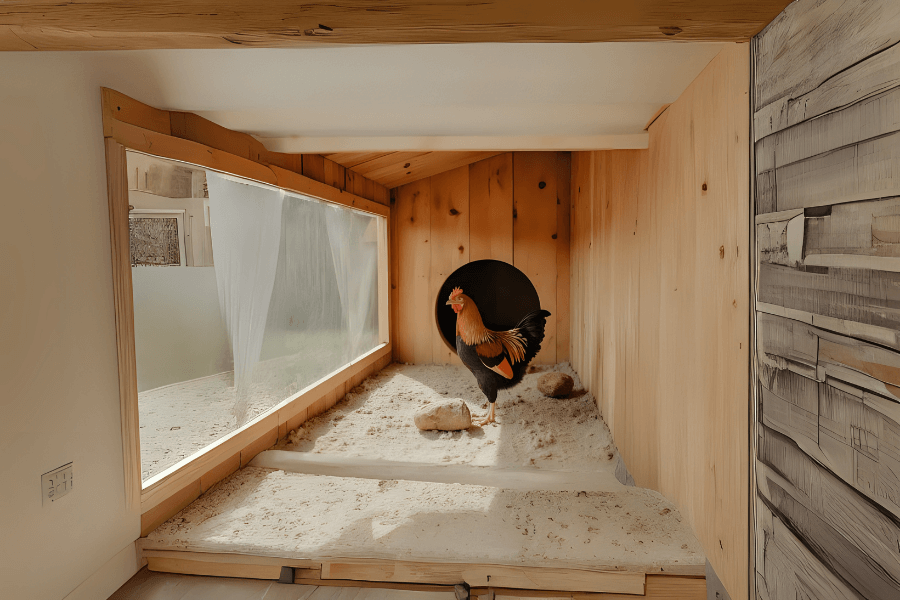
Tunnel Size and Shape Considerations
Tunnel dimensions affect how comfortably backyard chickens move through them. A height and width of about 16 inches gives hens space to walk, scratch, and turn around. Narrower tunnels may restrict movement, while overly wide tunnels require more material and support.
Shapes vary from curved arches to triangular frames. Arched tunnels are easier to bend from mesh rolls, while triangular designs use less material and can be more stable. Both styles keep chickens contained if built with small enough mesh openings.
When planning tunnel length, consider how much ground chickens will cover. Longer tunnels provide more foraging space but need stronger anchoring. Adding gates or sections that can be closed off allows grass or plants to regrow before chickens return.
Step-by-Step Installation and Integration
A chicken tunnel works best when it connects smoothly to the coop, is built with secure materials, and gives chickens a safe path to forage. Good planning makes it easier to manage cleaning, pest control, and movement between the coop, chicken run, and garden.
Preparing the Coop and Tunnel Entry
The first step is to decide where the tunnel will attach to the coop. Most keepers cut a small door near ground level so chickens can walk directly into the tunnel. The opening should be slightly larger than the birds but small enough to keep predators out.
Once the entry spot is marked, it helps to frame the edges with wood or metal to prevent wear. A hinged door or latch can also be added for times when the tunnel needs to be closed.
Good placement matters for cleaning and access. Position the entry where droppings can be managed, since chicken manure often collects near the starting point. This makes it easier to scoop waste and keep the coop area dry.
Building the Tunnel Structure
A DIY chicken tunnel usually uses wire mesh, hardware cloth, or chicken wire stretched over a frame. PVC pipes, wood, or metal stakes can serve as the base. A curved frame allows chickens to walk comfortably while keeping predators from reaching inside.
The tunnel should be tall enough for birds to stand upright. A common size is about 18–24 inches high and wide. This gives chickens space to scratch, dust bathe, and move without feeling cramped.
When cutting mesh, watch for sharp edges. Cover exposed ends with tape, pipe insulation, or folded wire to prevent injuries. Lightweight materials make the tunnel easier to move if rotation is planned.
Securing and Connecting the Tunnel
The tunnel must stay anchored to the ground to prevent gaps. Garden stakes or U-shaped pins can hold the mesh down along the sides. This keeps chickens from pushing through and blocks small predators from digging under.
At the coop connection, use strong fasteners such as screws, hinges, or heavy-duty zip ties. The goal is to create a tight seal so there are no loose edges. A small gate or flap at the coop end can help with daily access.
If the tunnel is long, consider adding support poles every few feet. This keeps the structure upright and prevents sagging. A secure tunnel reduces escapes and makes raising chickens easier to manage.
Integrating with Chicken Run and Garden
Many keepers connect tunnels to a chicken run or garden bed. This lets chickens forage for weeds, seeds, and insects while also providing natural pest control. By directing the tunnel along garden rows, chickens can clear bugs without damaging plants.
Rotating tunnel placement helps spread chicken manure evenly. This reduces buildup in one spot and improves soil health over time. Movable sections allow the flock to graze different areas without free-ranging across the entire yard.
When linking to a run, leave enough space for chickens to return easily to food and water. Simple gates or modular sections make it easier to expand the system later. This setup creates a controlled way to give birds outdoor access while protecting both the flock and the garden.
Conclusion
Chicken tunnels give flocks a safe way to explore outside the coop while protecting gardens and limiting damage to plants. They also help reduce predator risks compared to free-ranging without barriers.
By using simple materials like wire mesh, PVC, or wood, anyone can build a tunnel that fits their space and needs. The design can be straight, curved, or even modular, making it easy to adjust over time.
These tunnels provide chickens with fresh air, sunlight, and foraging opportunities, which support healthy behavior and reduce stress. At the same time, they keep the yard organized and make flock management easier for the keeper.
Installing a chicken tunnel is a practical project that balances freedom for the birds with safety and control for the owner. It creates a safe middle ground between full free-range and confinement.
