Stefan and I have done a lot of renovating and decorating together over the last 14 years. But we often find that the smallest changes can make a huge impact. And that happened once again with this project. Since we’ve been getting into the renovation and decoration mode here in our condo, it was time to take care of a space that was starting to stick out like a sore thumb.
In our master bedroom, we have a door which leads out to our lanai (the Florida term for a screened in patio). We don’t really use the door much at the moment because we have a perfectly good sliding door a few steps away in the living room, but the door is there nonetheless.
Hanging on the door was a drape that was bland and not anything special. In fact, the rod holding the drape to the door was magnetic. Pretty smart really but not all that exciting or sexy.

Now since this is our bedroom and we don’t like the gardeners peaking in at us when they wander by, and we aren’t too fond of taking the little leather cuff thing on and off a million times, we usually leave the drape down which looks like this…
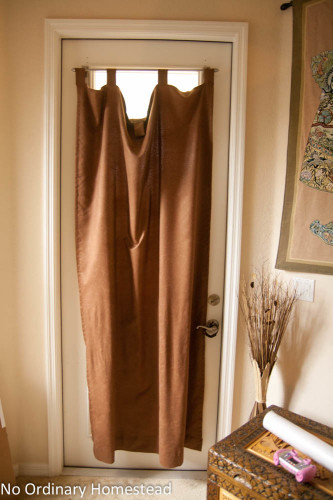
Pretty crappy right? Especially now that we’ve repainted our bedroom wall and made the room more stylish (more details coming on that soon). This window covering just wasn’t working for us anymore.
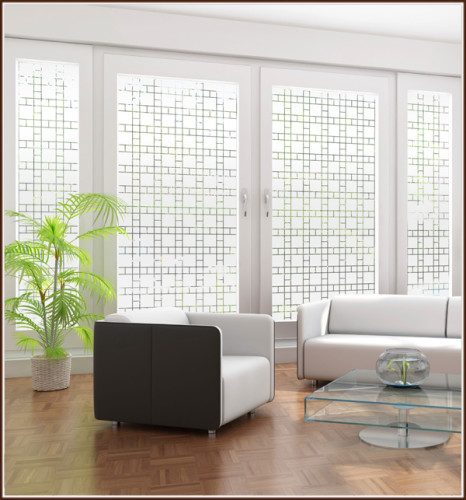
So I started looking around online and came across the website Wallpaper for Windows. They make all sorts of window clings so you can not only make your windows pretty but even turn them into privacy windows if you choose to. And that’s exactly what we were looking for.
We had a look through the patterns and decided we wanted something with a frosted look that wasn’t going to be a distraction but that still worked well with the Asian feeling we’ve been developing in our room. We picked out the Boardwalk one-way semi-private film which we think will look good with the boxy Asian-style window frames we’re going to build.
I contacted Renee at Wallpaper to Windows and we sent her our window measurements (after measuring at least twice!) They were kind enough to suggest that we get everything precut for the window which turned out to be completely genius. But even if you don’t have all the cuts done for you, they usually precut three of the sides, making this whole process very simple
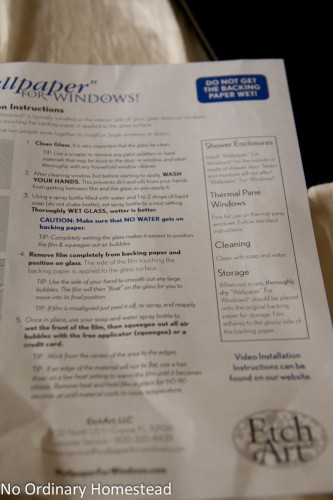
The foil arrived a few days after the order was placed, rolled up in a simple brown box. We were excited to get started and figured reading the instructions is not the worst of ideas. There are also videos online if you’re the visual type. It’s really all quite simple.
I had to admit that I’ve done something like this before. When we lived in our farmhouse in Schöneck, Germany, we had a few windows facing an alley which turned into privacy windows with window cling we bought from IKEA. It turned out pretty well but it definitely wasn’t perfect. But back to the story…
There were instructions with the foil and it was all quite easy to understand. Apparently it’s also a very bad idea to get the backing paper on the foil wet. I’m not sure if Gremlins will hop out or something bad will happen, but since it was written on the instructions twice, we better not mess around.
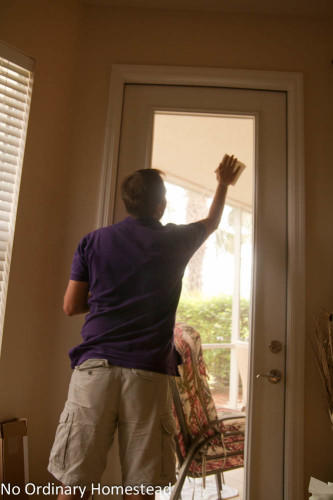
The first step and one of the more important ones is cleaning the window. You want to make sure that there are no specks of dried on paint, dead creatures, goo or anything else on the window. If it’s not perfectly clean, you won’t get a good seal and it’s going to leave bubbles, which look especially bad from the outside.
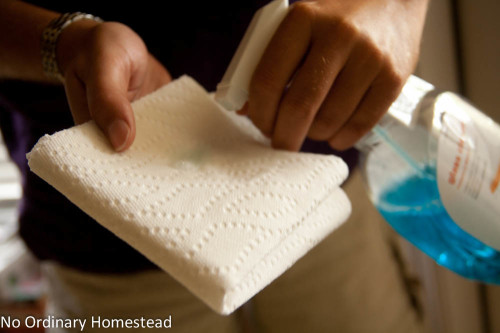
So scrape off any debris on the window and clean it really well with window cleaner. When you’re finished, go wash your hands. You don’t want the oils from your hands getting all over the film. You’re also going to need a spray bottle with water and a tad of soap in it. But don’t shake it up.
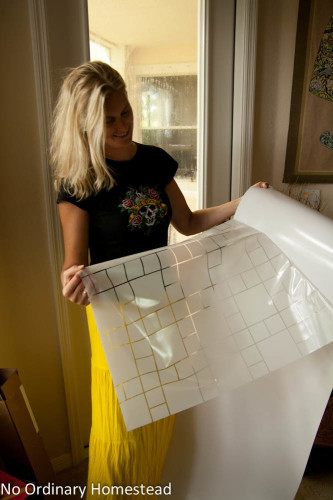
Once you’ve sprayed down the window and saturated it, pull the window cling off of the backing paper. You’re going to use static electricity to apply the cling to the window and keep it there.
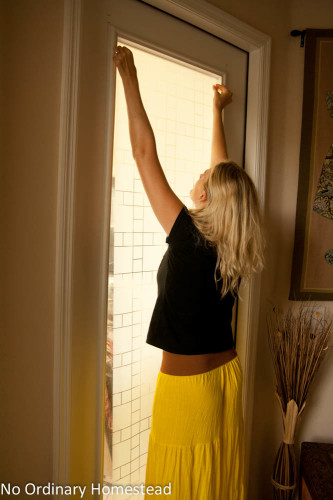
 Line up the cling at two corners and lay the cling on the window. You’ll see a bunch of bubbles but should be able to smooth them out a bit with your hands. Before you get too carried away, though, see if your cling lines up all over, especially if you’ve had it cut specifically for your window. If not, you should be able to shift the cling a bit until it’s in the right place.
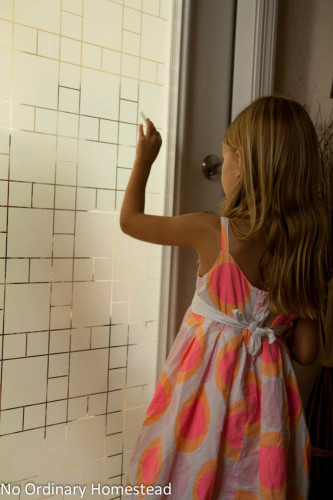
In the box with your cling, you should also have found a card which is your smoothing tool. Hold one long edge of it against the window and gently smooth out the bubbles.

You really want to make sure you do this all over the window to get all the bubbles out and a perfect seal on the window. Try to go over every bit of the window. This is a great job for gentle little helpers, as long as they don’t get too overzealous with the card.
And voila! You’re finished! The whole process took maybe 15 minutes and was very simple. The quality of this cling is SOO much better than the stuff I bought at IKEA and it looks much better too. In fact, we totally love the “new” window we have in the door. It really allows a lot more light into the room and it blocks out nearly everything on the other side of it.
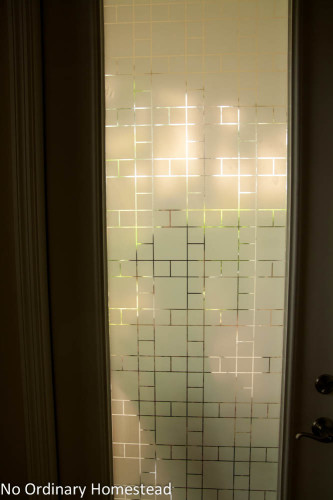
This is the view from outside. So I could be standing behind the door naked and no one would be able to tell. Totally awesome.
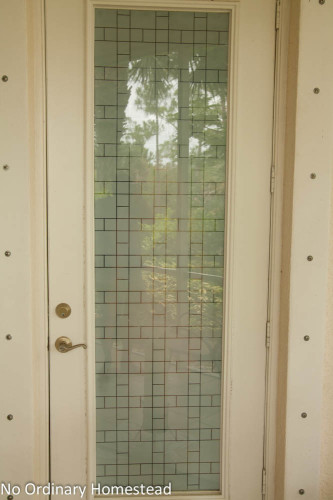
We are really thrilled about how everything turned out and the privacy window we’ve created that blocks out the view yet lets in the light. The room feels much brighter and we couldn’t be happier with the results. I highly recommend checking out Wallpaper for Windows if you’re thinking about doing a project like this. It was extremely easy and the results are amazing.
Note: I did receive a products for review purposes but all opinions expressed in this review are my own.


Great idea !