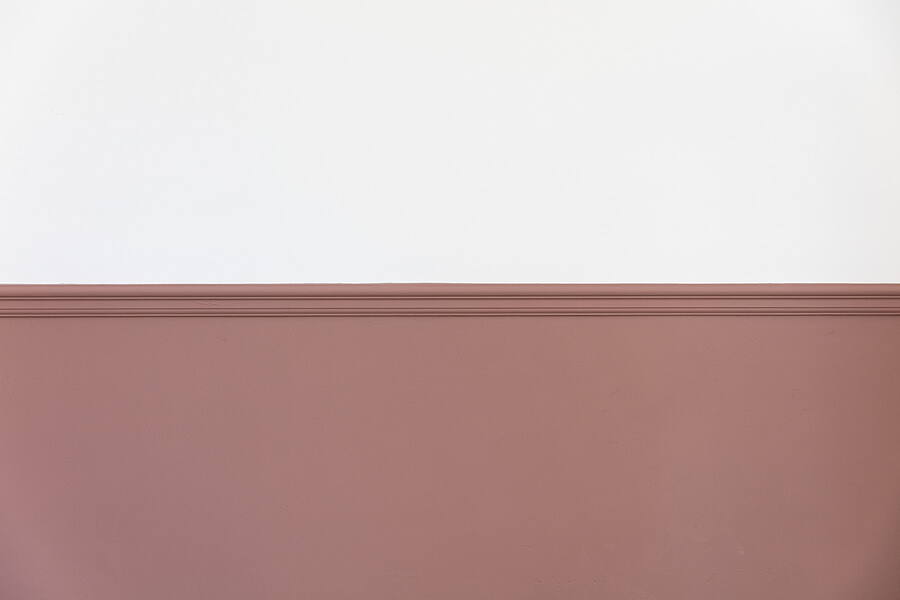
A surbase, also known as chair rail, was built when homes were smaller. These rails were built around the perimeter of many kitchens, dining rooms, and living rooms to protect the walls from chairbacks. They shielded walls from all types of damage. They’re now used in home design for more aesthetic reasons. Whatever style you choose, the first step is to learn how to install surbase.
What You’ll Need For The Setup
The following is a list of everything you’ll need to finish the job:
Tools & Materials
- Surbase/dado rail
- Spirit level
- Coping saw
- Chalk line
- Nail gun
- Nails
- Adhesive
- Hand saw
- Mitre saw
- Pencil
- Tape measure
How to Begin
Here’s how to get started now that you’ve obtained everything you need.
Wall-Marking
Mark the line for the surbase around the room using one of the following methods:
- Start at one corner and mark the line with a long straight edge and a spirit level (when you reach the far corner, you will find out how accurate you have been or how to level the floors are).
- Draw a chalked line between corner marks and attach it to the wall with a snap.
- Use a laser level in the room’s center – this is the most accurate and simple approach – laser leveling kits can be rented from the top tool rental shops.
- If the surbase is going up a stairwell, measure the appropriate height from the front of the treads at the top and bottom of the stairs at right angles.
How Do You Install
After taking your measurements, cut your surbase to the proper lengths with a miter saw. You’ll most likely need to cut the rail at a 45-degree angle, but make sure you cut the surbase at the correct angle for all of the room’s corners, including any windows.
Apply masking tape to the walls and ceilings so that the surbase covers about half an inch of the tape. Then, using your pencil, indicate the placements for the surbase pieces.
Apply nails to the back of the first piece of the surbase, position it on the wall, and secure it. Any pieces of surbase that meet a miter joint will require additional glue to secure the joint. Any extra adhesive can be scraped away.
It’s time to apply the sealant after all the surbases have been placed. Apply a tiny bead of sealant around the top and bottom edges and use the smoother cutter tool to smooth the sealant. Remove the masking tape from the area. To remove the tape, lightly run a sharp knife along the rail.
How Do You Determine the Height of Your Surbase
Surbases are a simple, low-cost, and effective solution to turn any drab area into your dream house. These rails are a handy tool that can either lengthen or shorten your area. Your taste, as well as the height of the existing furniture in the room, can determine the optimal height for your dado rail. However, some principles can assist you in estimating the appropriate dimensions for the space you’re dealing with.